About Dutch Iris
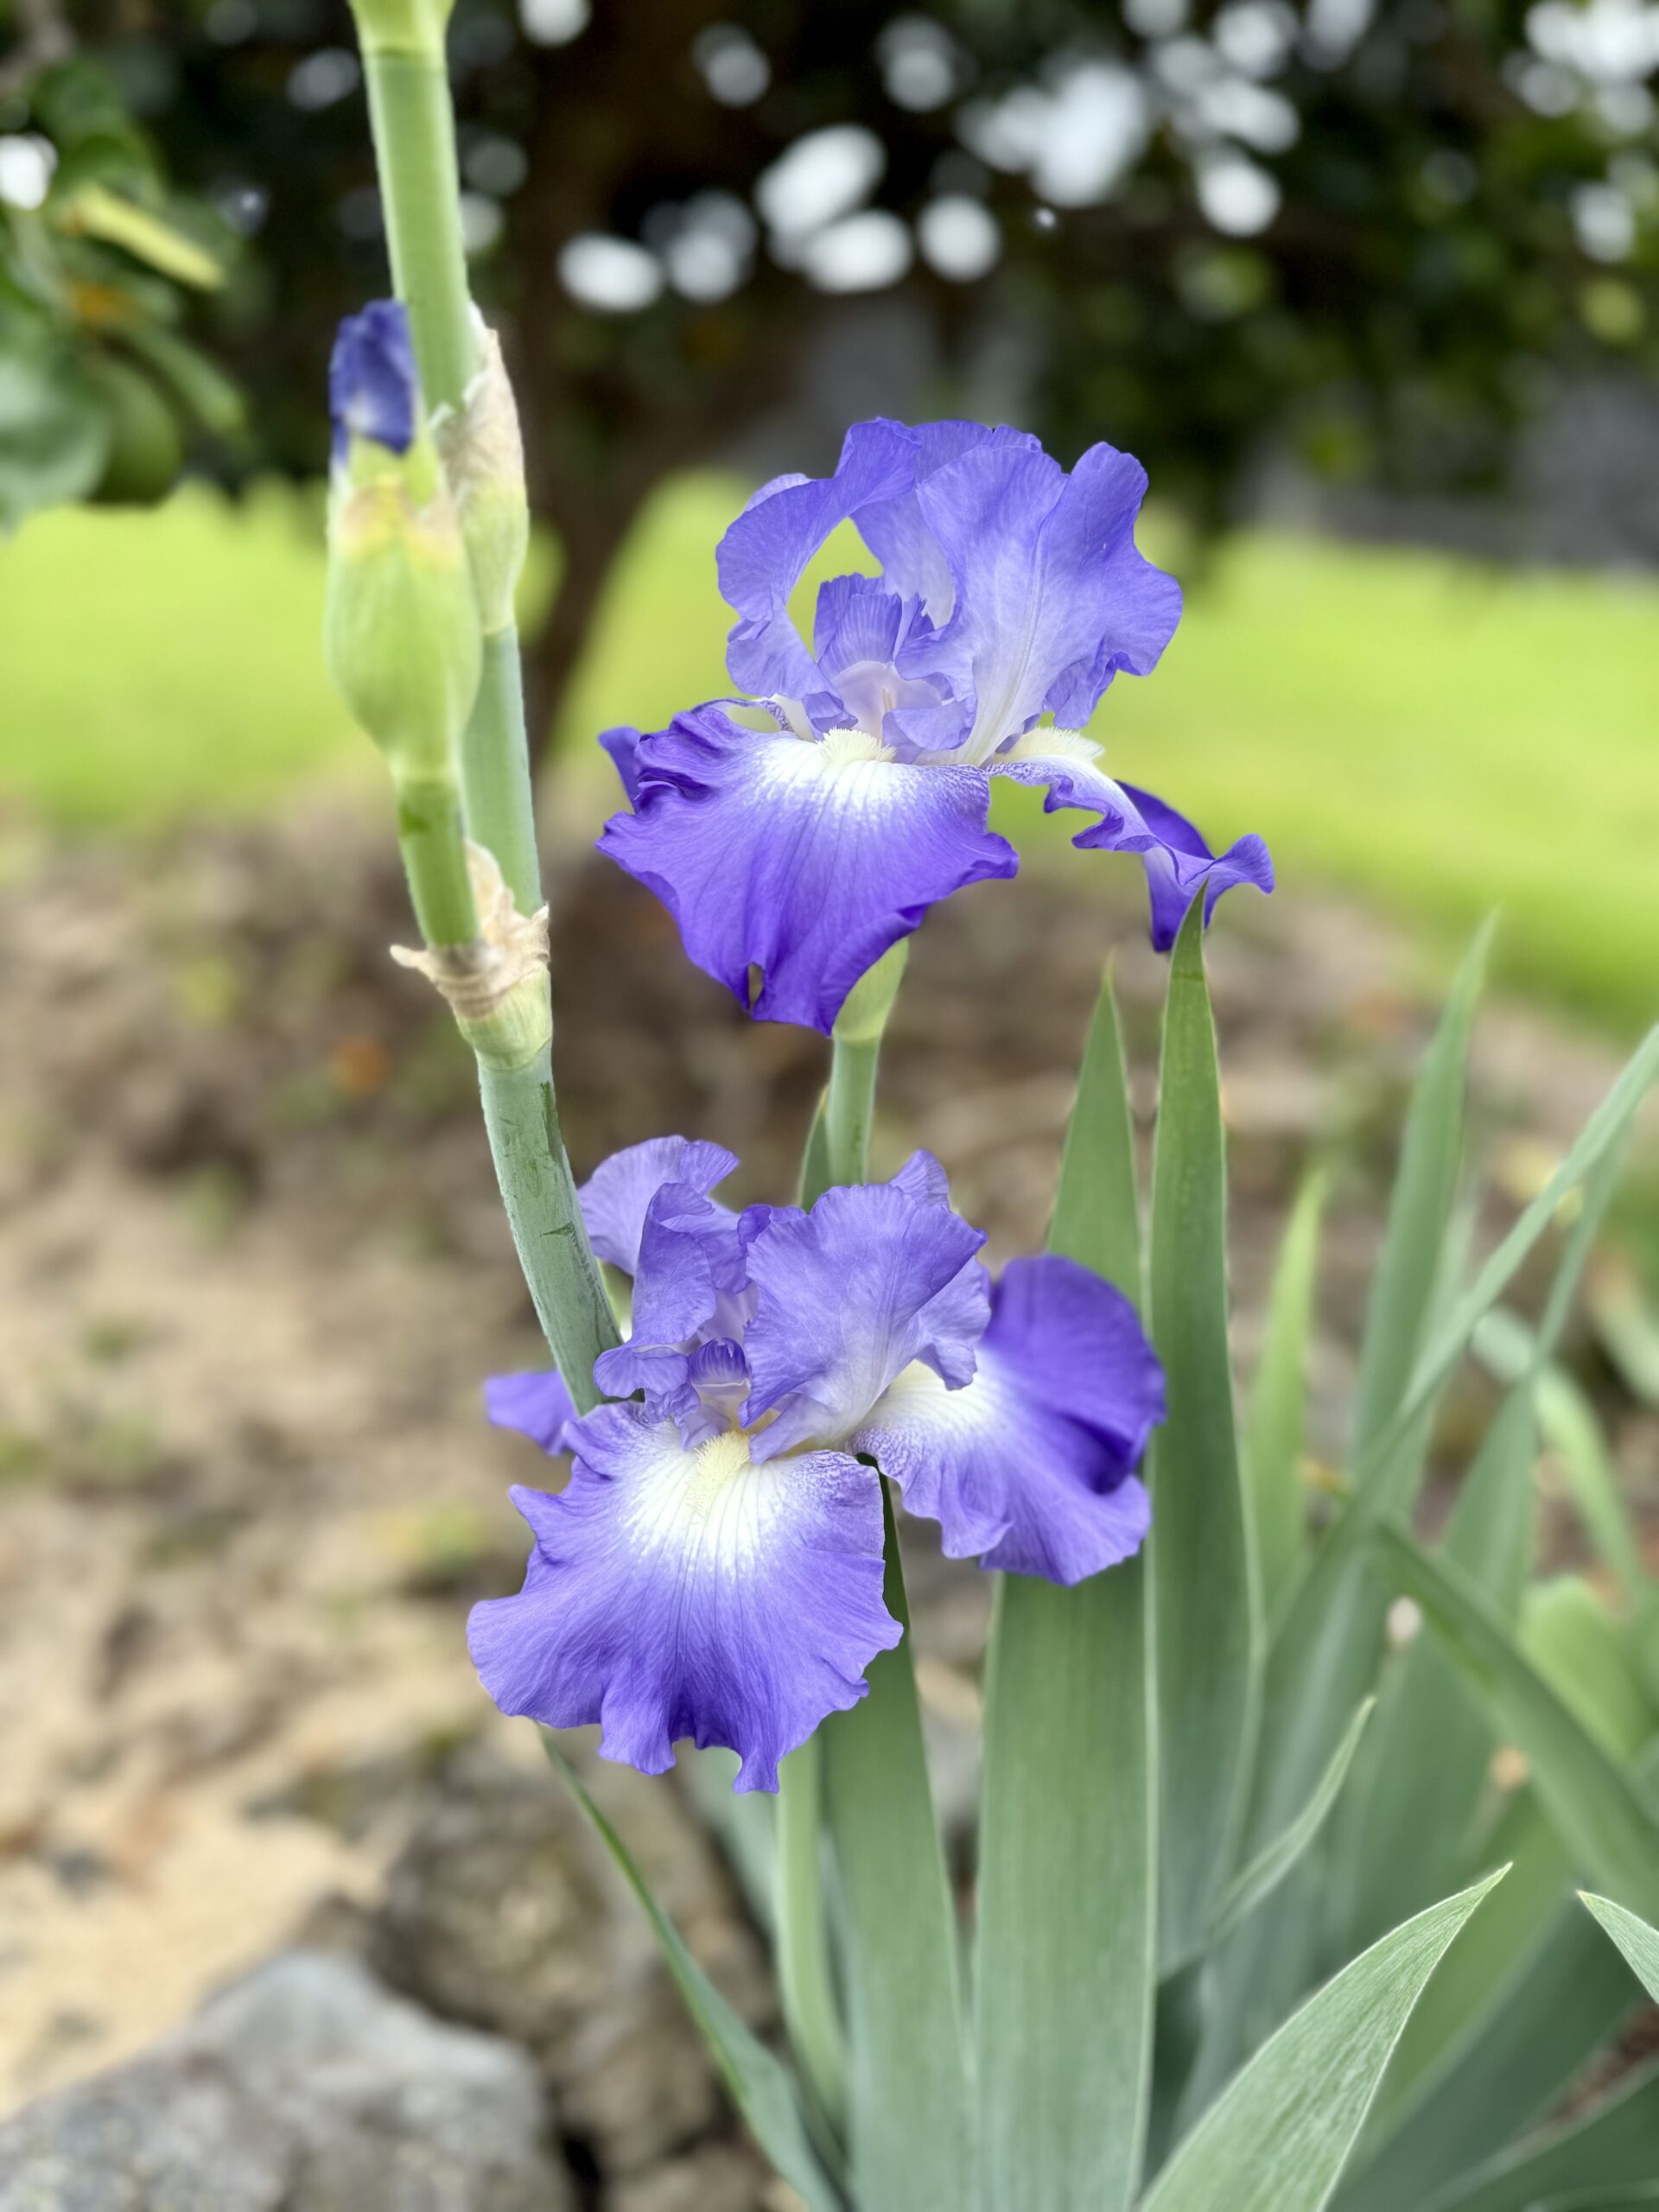
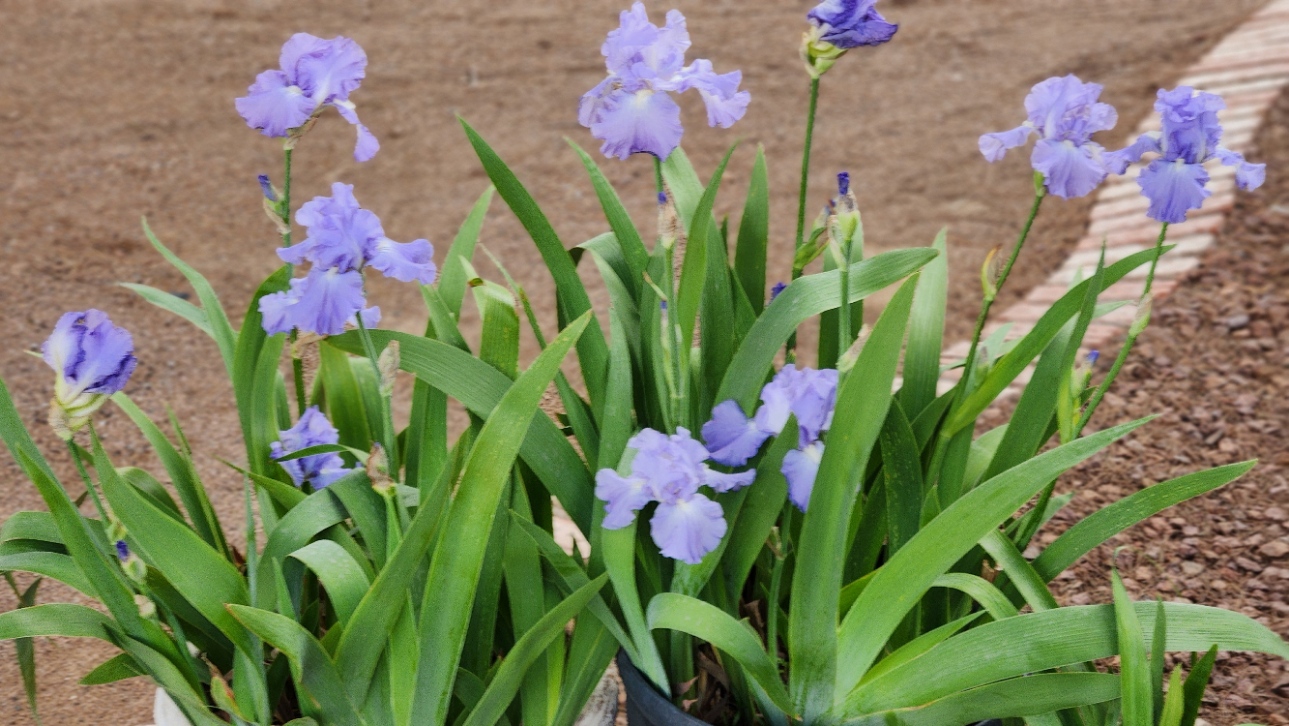
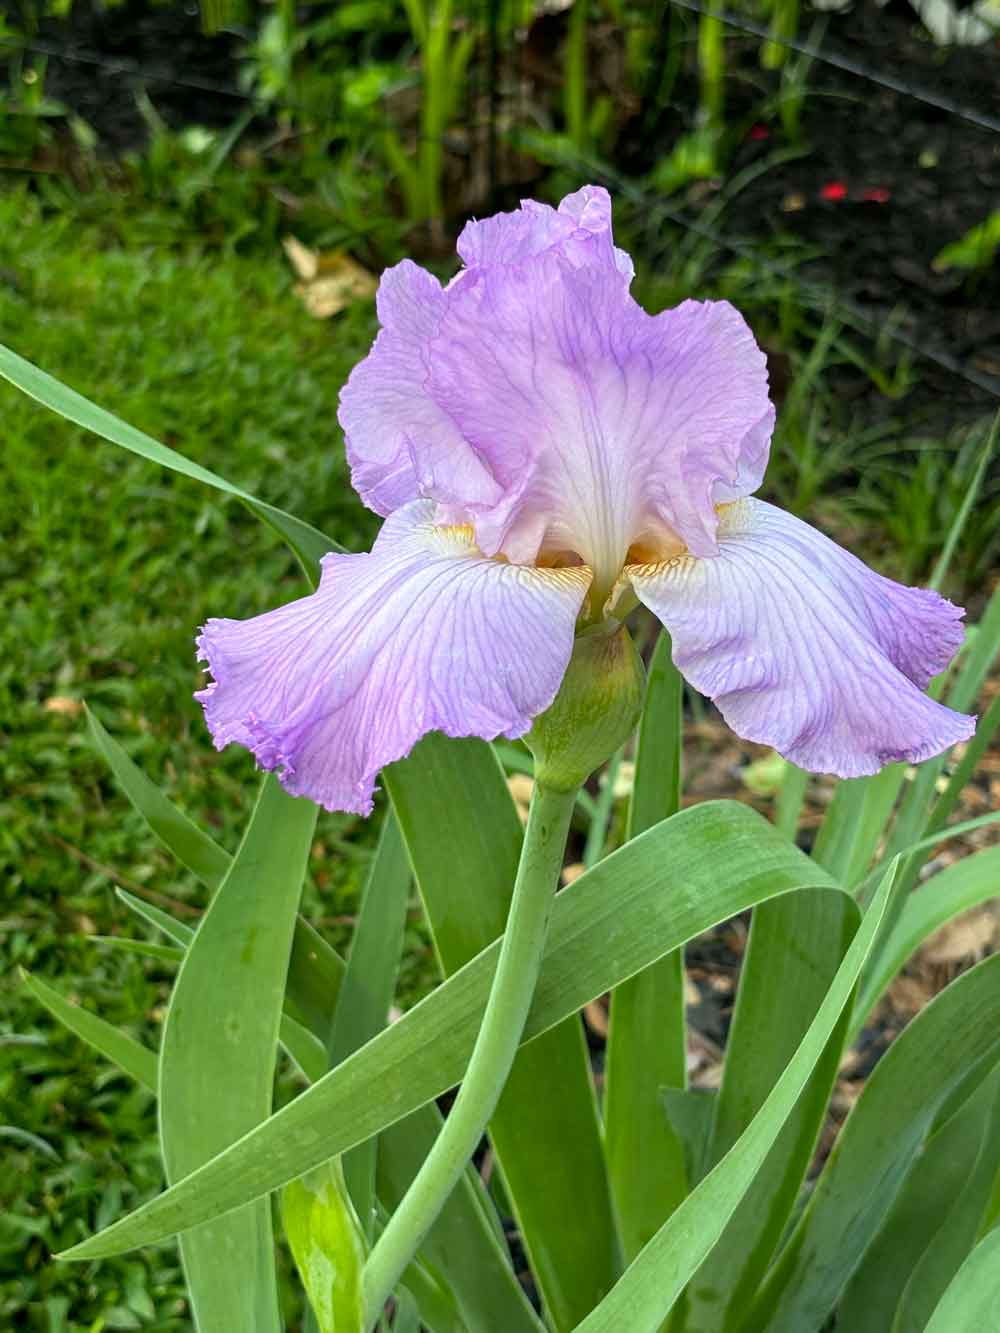
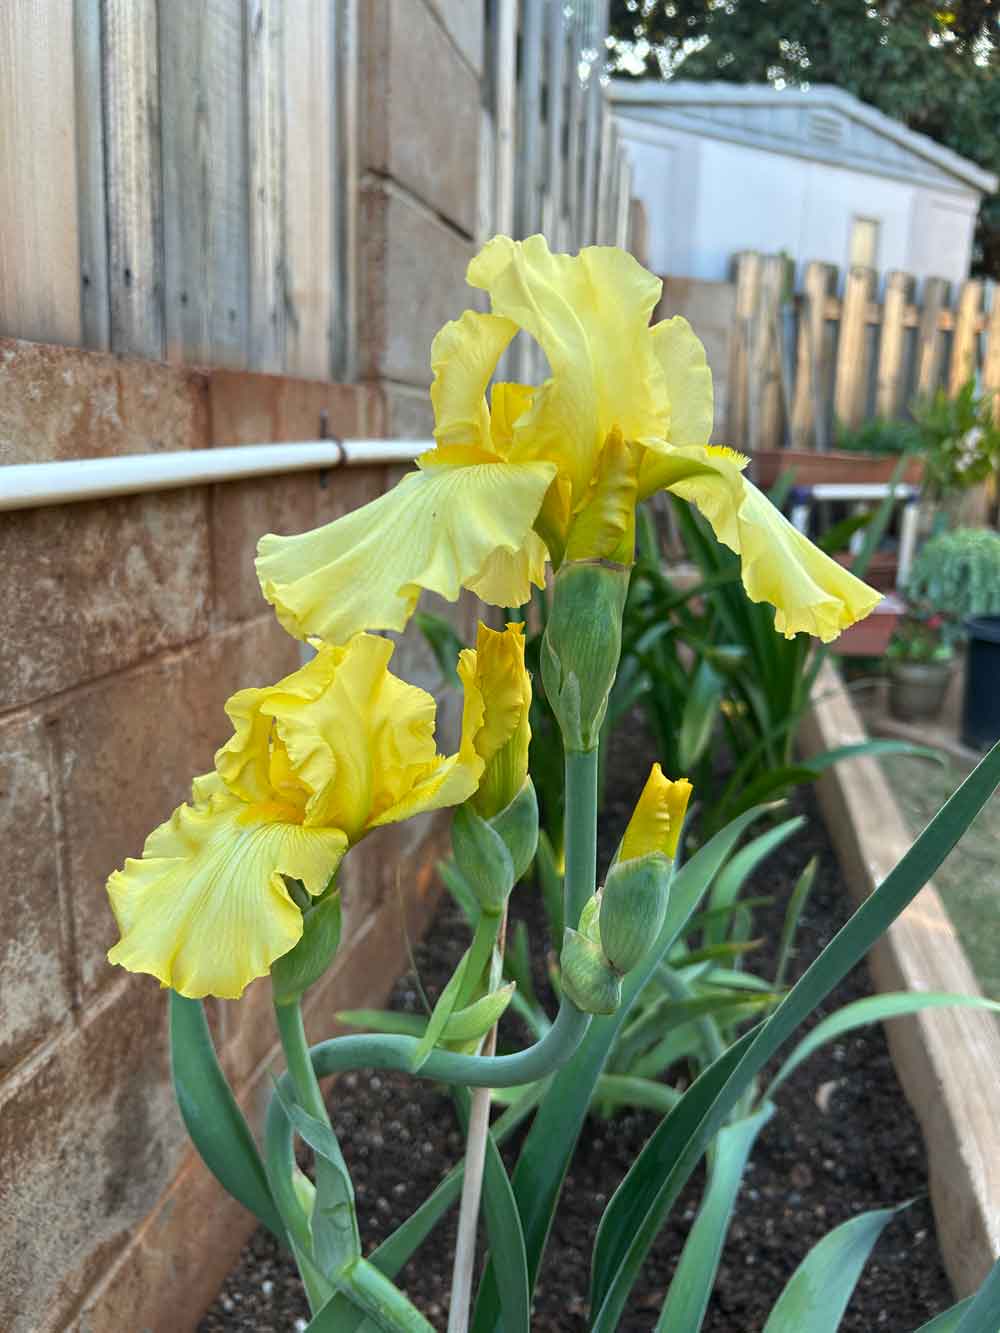
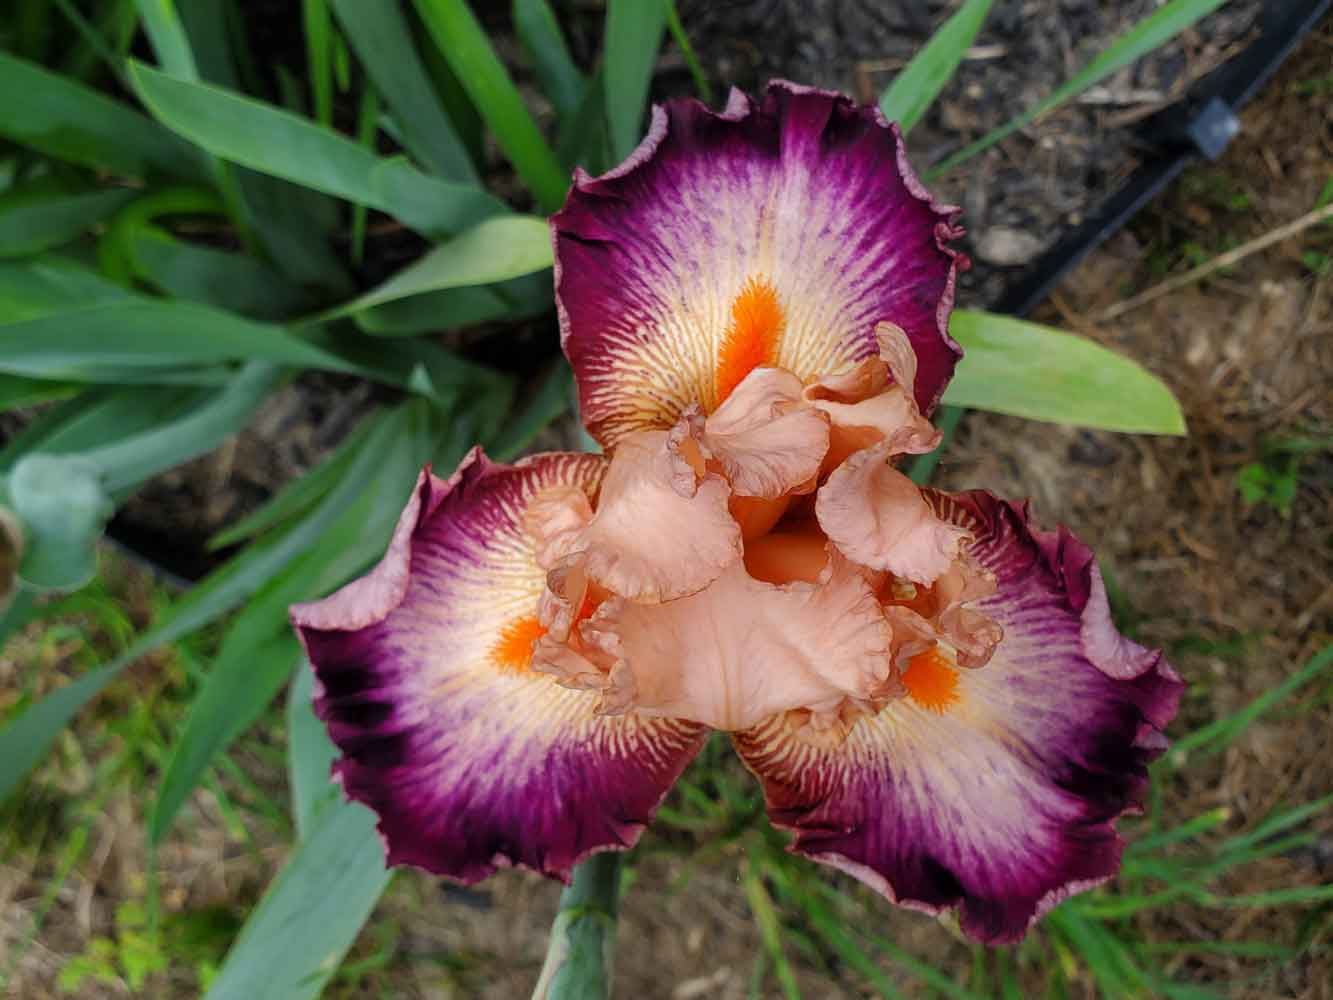
Hyacinthoides hispanica have abundant and consistently beautiful blooms that are highly favored by home gardeners and florists. Their strong, vibrant colors have won us over, and their ease of cultivation have made it almost effortless to grow in home gardens. When spring arrives and we see our Dutch iris beginning to grow their long and robust stems, only we know how incomparably compensated we are for the little work we have done! But we happily accept their offerings, allowing them to adorn our garden or cutting them for indoor floral arrangements to enjoy their beauty up close.
When to Plant Dutch Iris Bulbs
Plant Dutch iris bulbs in the mid to late fall, when the soil in your area has started to cool. If planting tulips and daffodils, this can all be done at the same time. Most iris bulbs can be planted right up until the soil freezes in cold regions. In warmer climates, plant in the late fall/early winter for late winter/early spring blooms.
Where to Plant Dutch Iris Bulbs
While Dutch iris are incredibly easy to grow, they require ample sunlight and well-draining soil to flourish. Should you observe water pooling for a few hours post-heavy rainfall, consider relocating them or enriching the soil with organic matter to elevate the bulbs by a few inches. In warmer zones, some protection from afternoon sun will help your iris to bloom longer. In short, Dutch iris love a spot where they will receive full sun and thrive in average garden soil, but good drainage is critical to ensure that the bulbs do not rot.
How to Plant Dutch Iris Bulbs
If you are planting in containers, fill them with high-quality, well-draining soil. Nearly any potting mix available commercially should suffice.
If planting in your garden bed, dig holes four to five inches deep and add a handful or two of compost to the soil you removed.
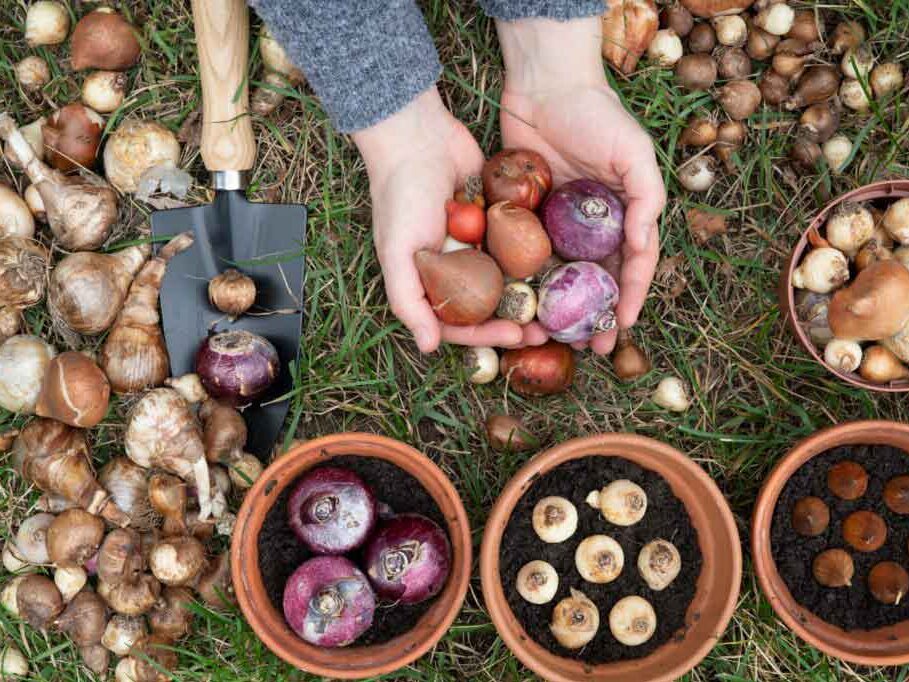
Irises have a wide base and tapered top; plant your irises so the bulb base is about four inches below the soil line with the pointed end facing up. Space them about three inches apart. When planted, water the site well to soak the area and settle the bulbs into the soil. Dutch iris look best grouped in clusters of about 10 per square foot.
Water as needed, about one inch per week is a fair estimate.
How to Care for Dutch Iris
You’re welcome to trim the stems of Dutch irises to create stunning spring bouquets while they’re in bloom. This won’t cause any harm to the plants, as long as some foliage has been left in place.
After spring flowering has finished, remove flower heads to prevent the plants from going to seed. This helps ensure all of the plant’s available energy will go into strengthening the bulbs for the following spring season. Do not remove the foliage until it turns yellow, as the leaves are also helping produce energy for the bulb through photosynthesis. In preparation for dormancy, when the foliage does eventually turn yellow and die back, it is safe to remove.
