About Amaryllis
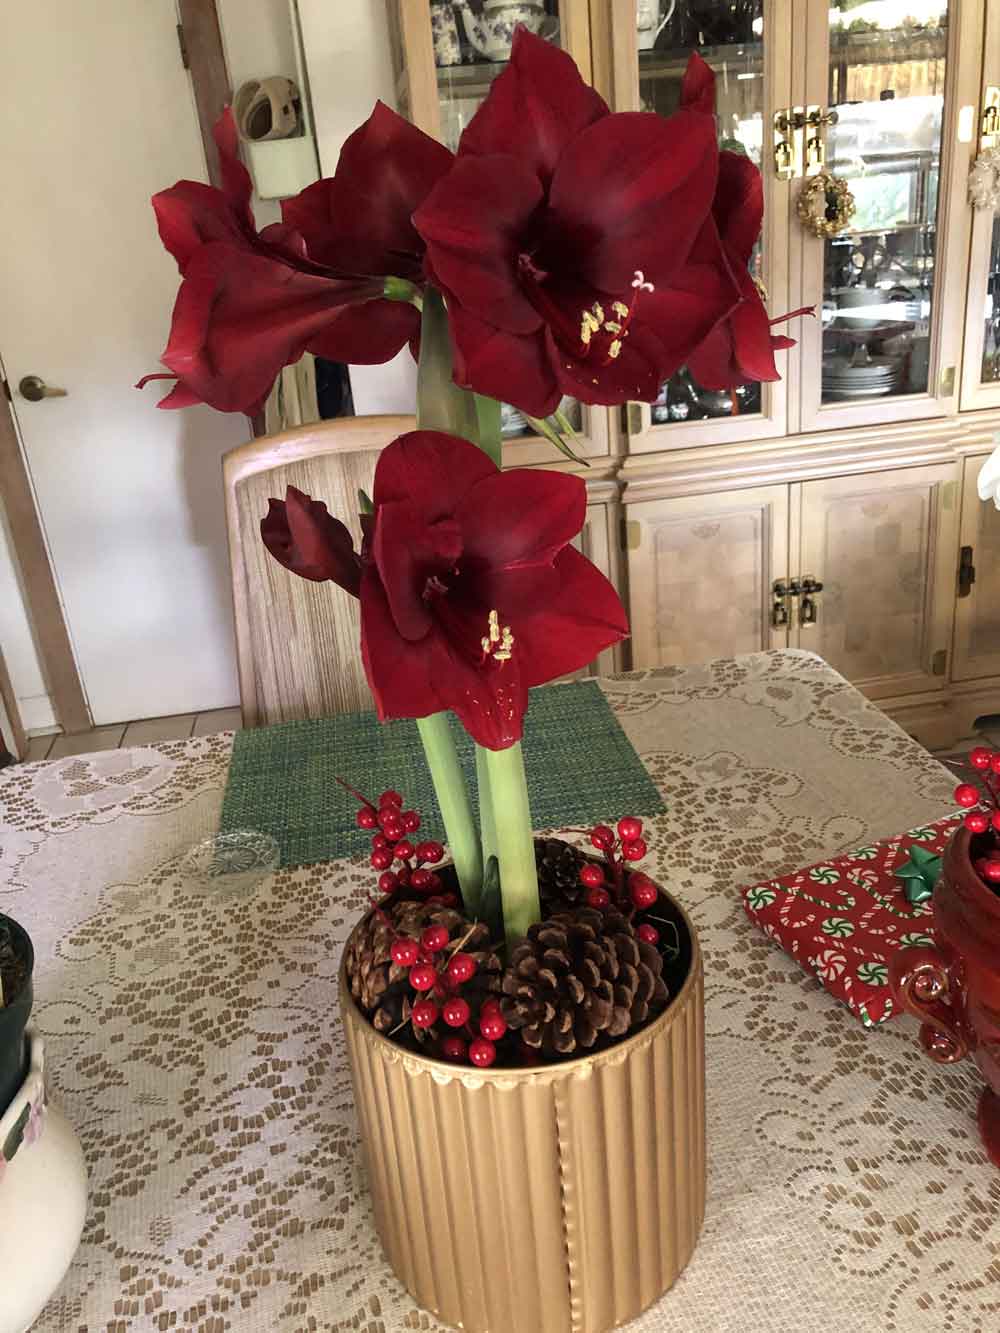
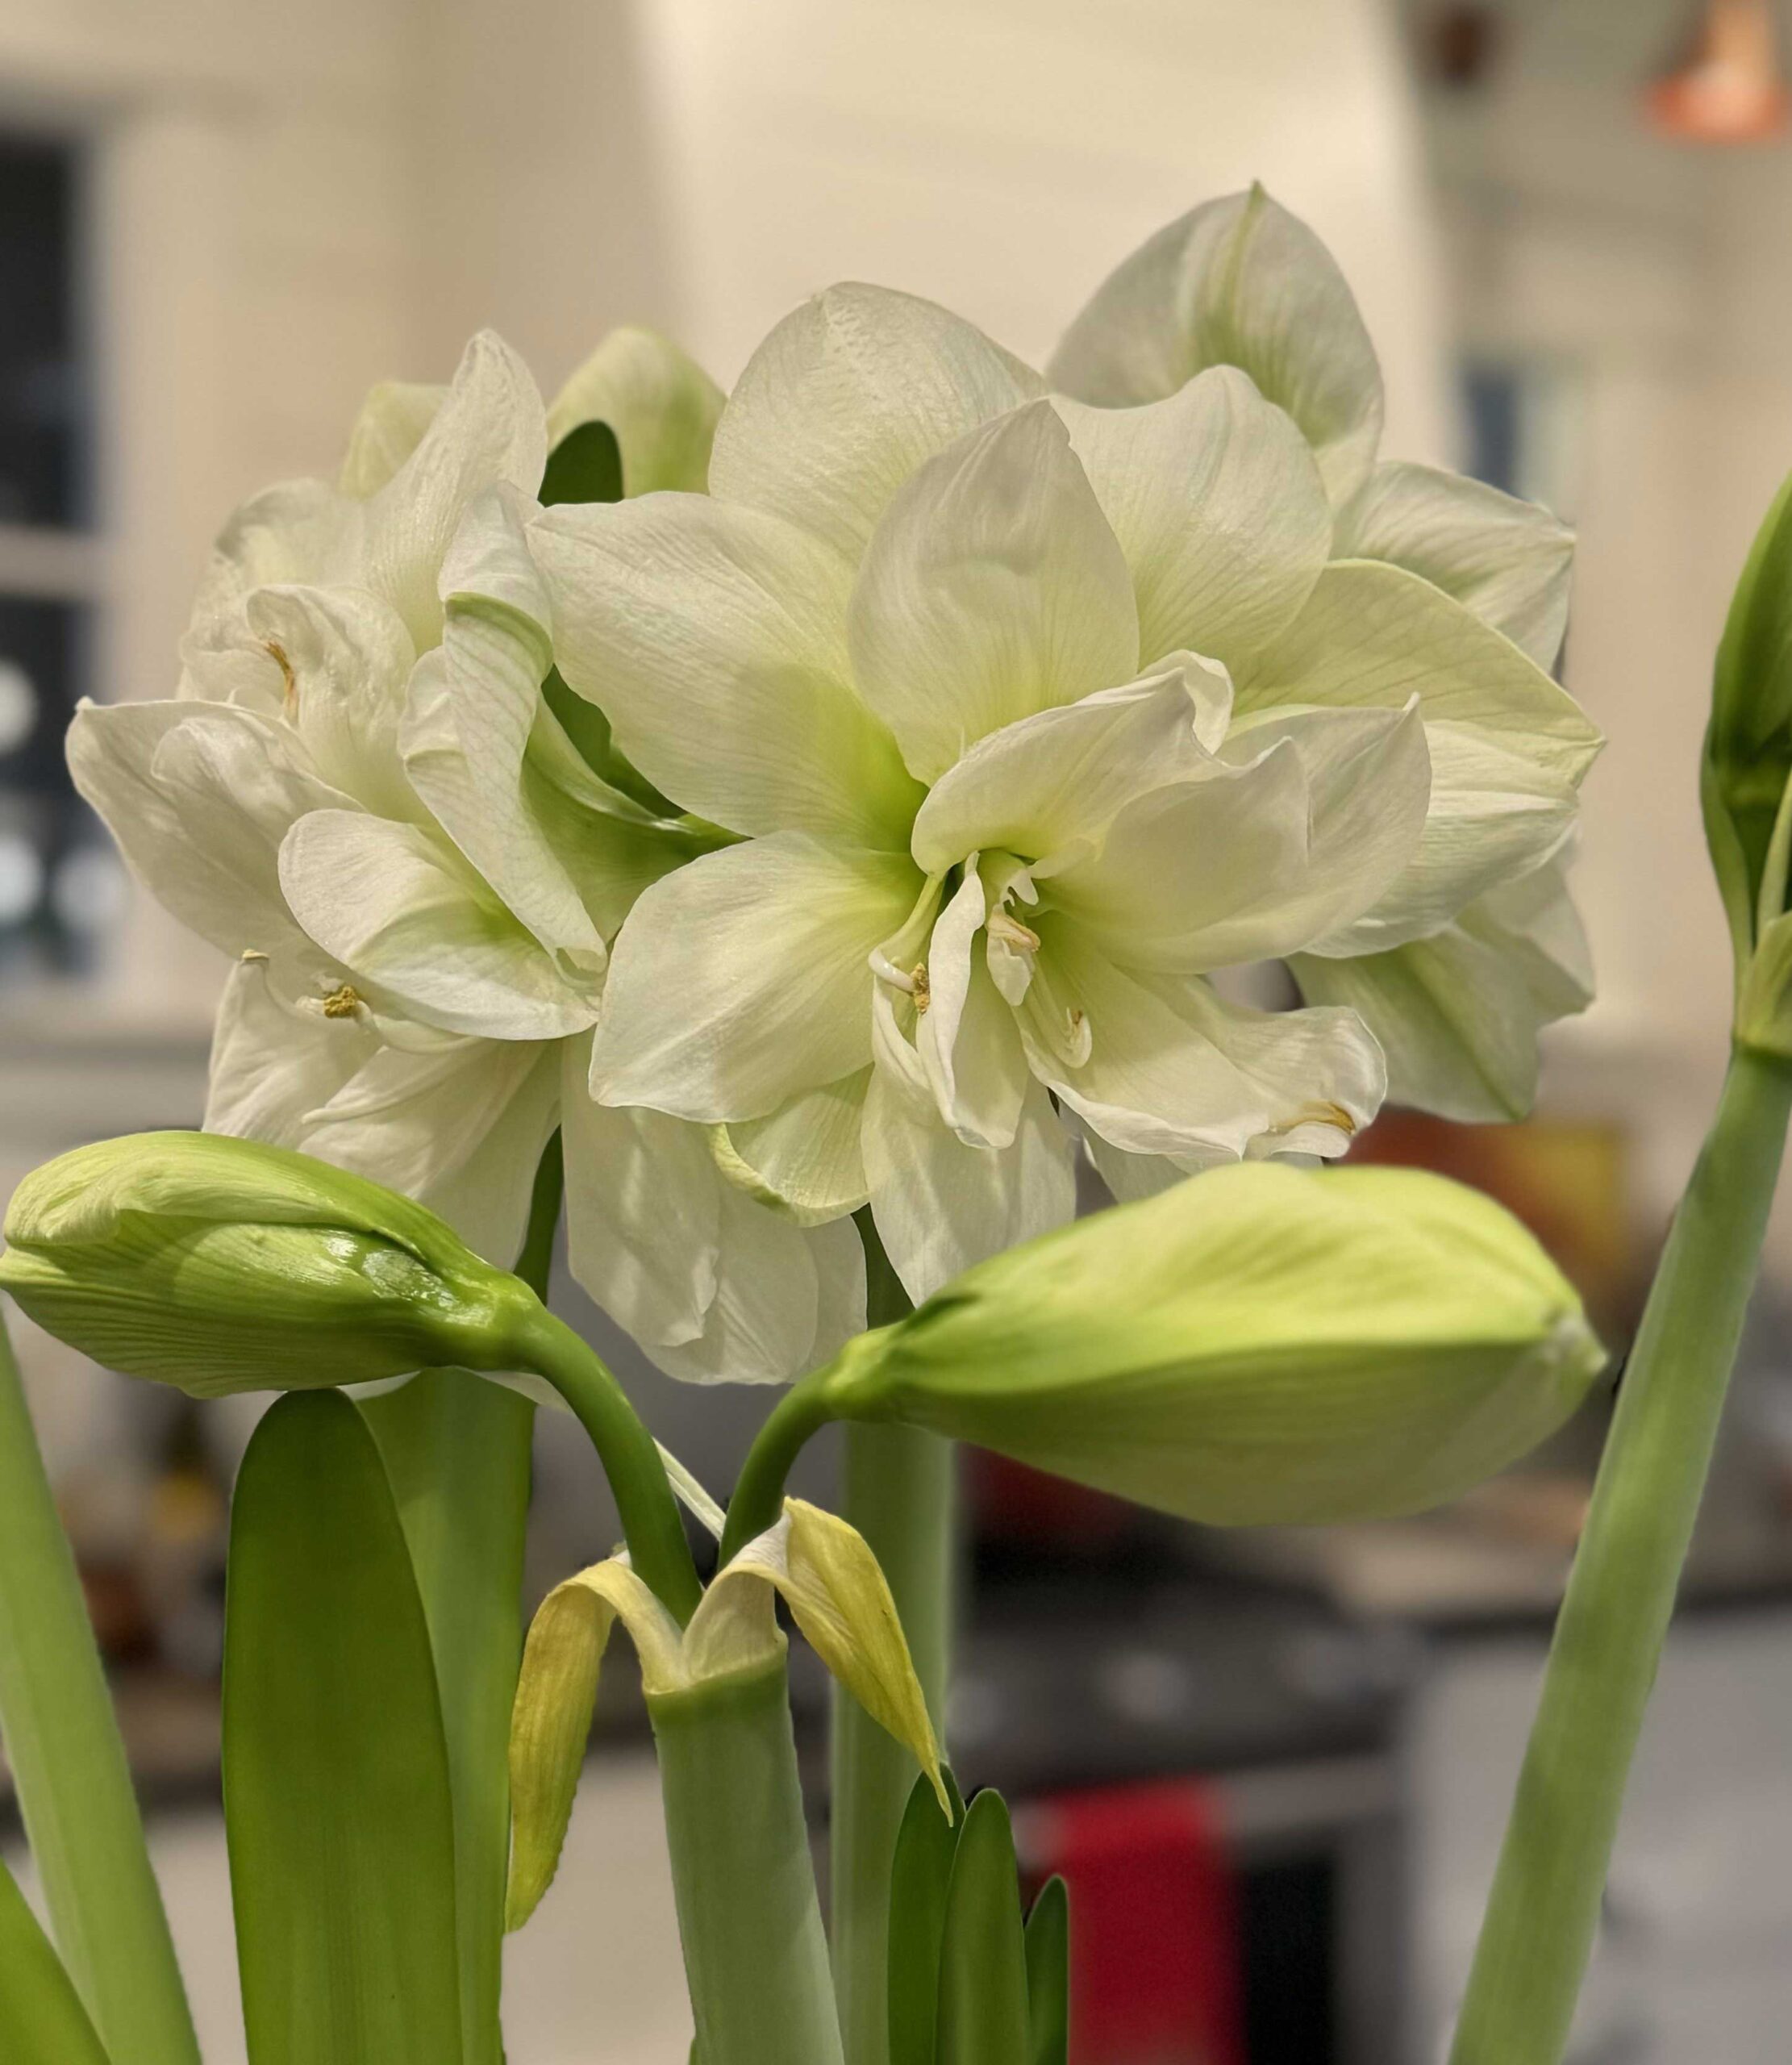
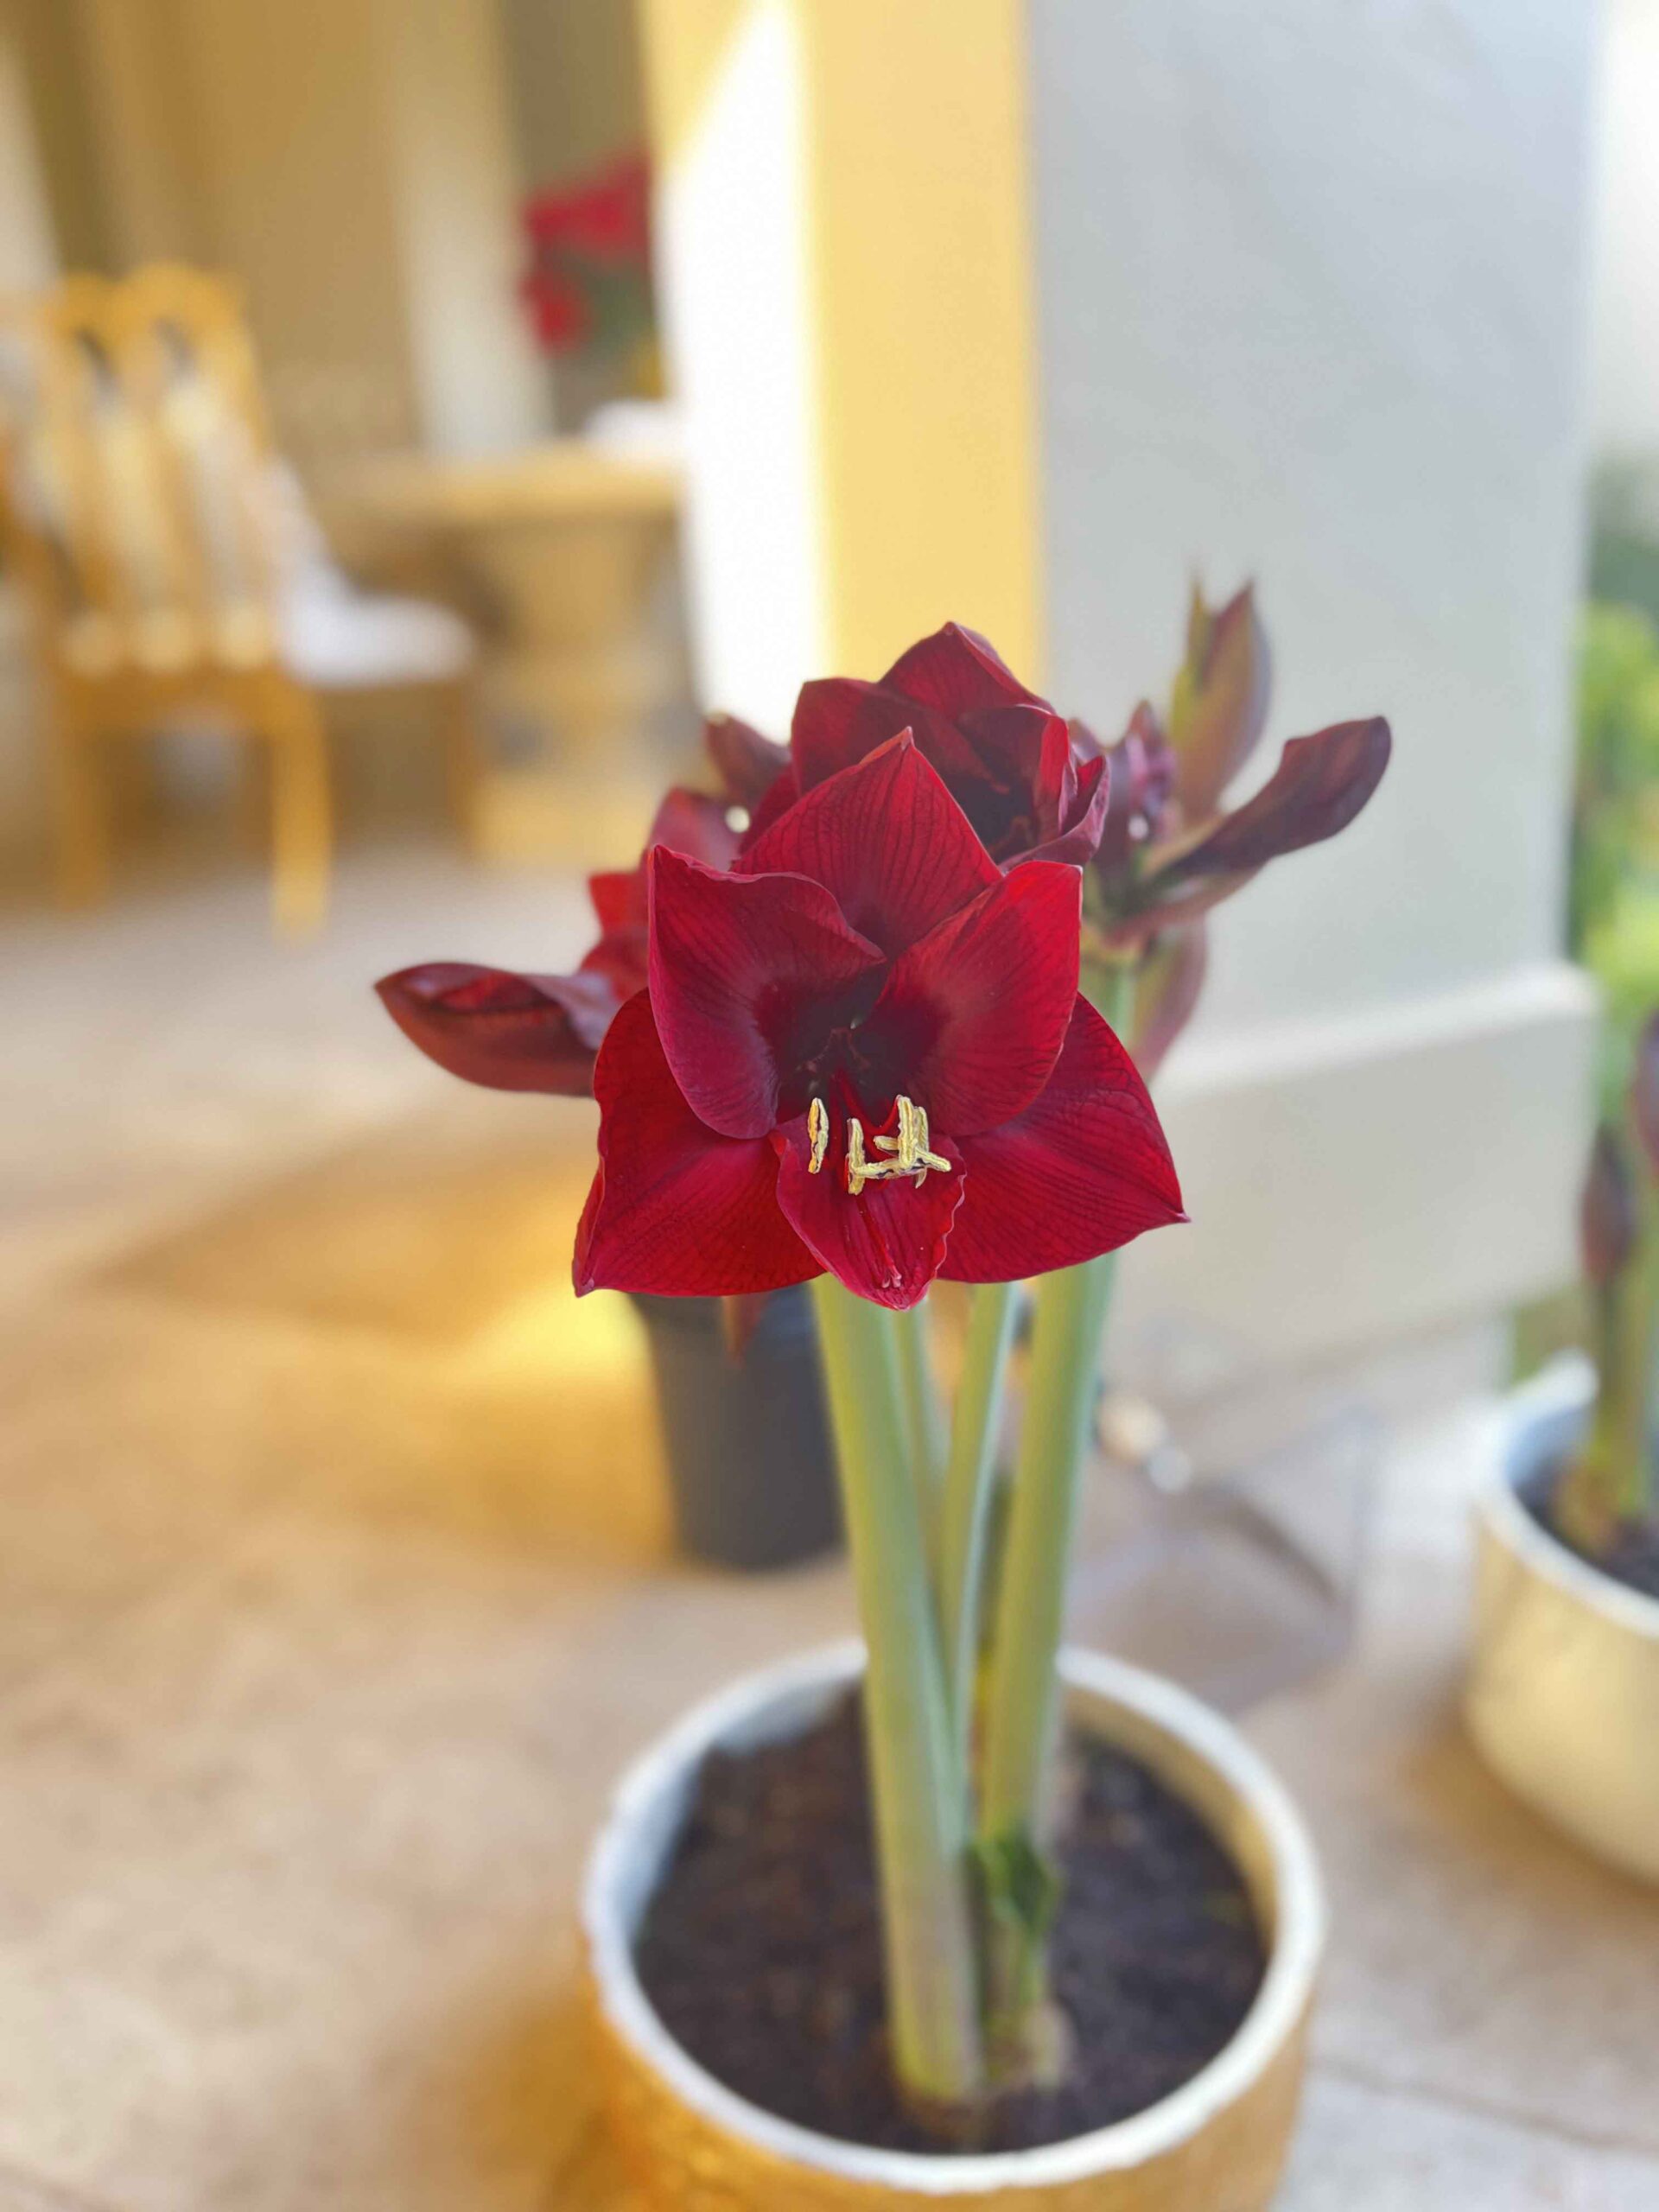
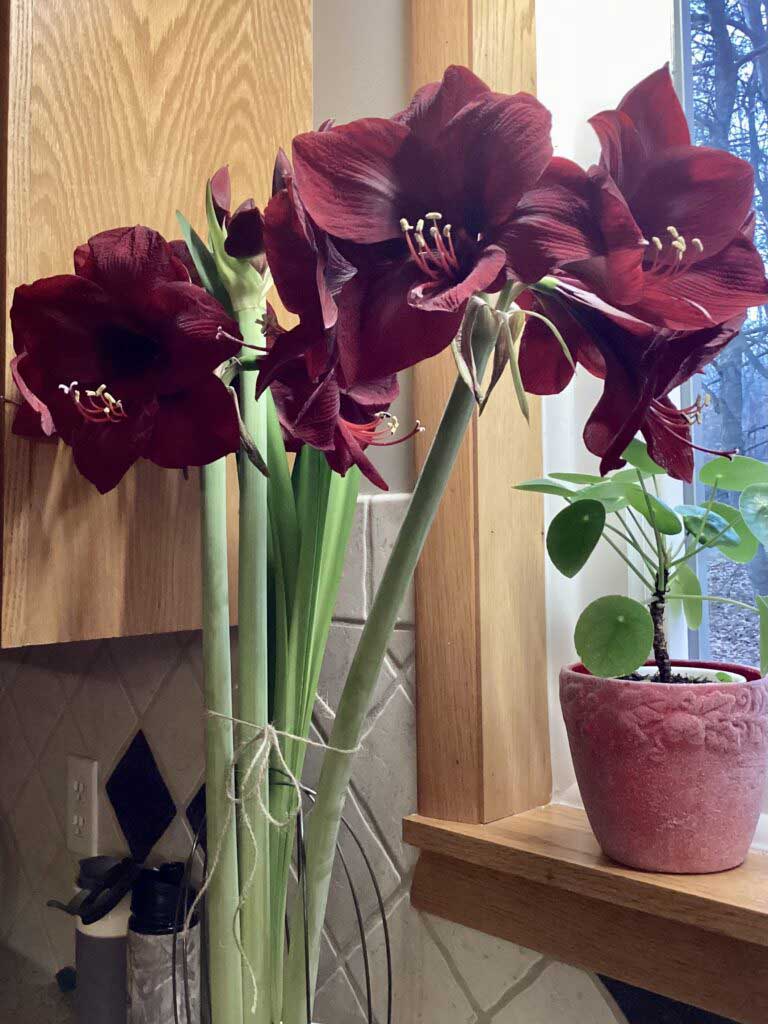
Amaryllis is a captivating flowering plant that originates from South Africa. Its large, strappy leaves and vibrant trumpet-shaped blooms make it a popular choice for indoor and outdoor gardening. Like daffodils or tulips, amaryllis plants begin as bulbs and are naturally spring blooming between late winter and mid spring. Throughout the years, and popularized in Victorian times, we began to hybridize amaryllis, creating a range of colors including various shades of red, salmon, and white, in speckled, striped and tricolor patterns. We also began to play with the bloom time, and realized that with the energy that was stored from the year before, amaryllis could be “forced” to bloom indoors, earlier in winter, aligning with the winter holidays. With this development, an exciting time began, one where we could enjoy beautifully vibrant and fresh blooms, inside our homes, during the winter months. Because of its beauty and resilience, the amaryllis was soon seen as a representation of love, romance, and beauty but also as a symbol of strength. Today, it is a popular choice in gardening and gifting as a beloved addition to the home each winter season.
When to Plant Amaryllis Bulbs
Plant amaryllis bulbs in fall for beautiful spring blooms.
Where to Plant Amaryllis Bulbs
Plant amaryllis bulbs in well-draining soil with plenty of sunlight. If planting indoors in a pot, make sure you rotate the pot for maximum sun exposure.
How to Plant Amaryllis Bulbs
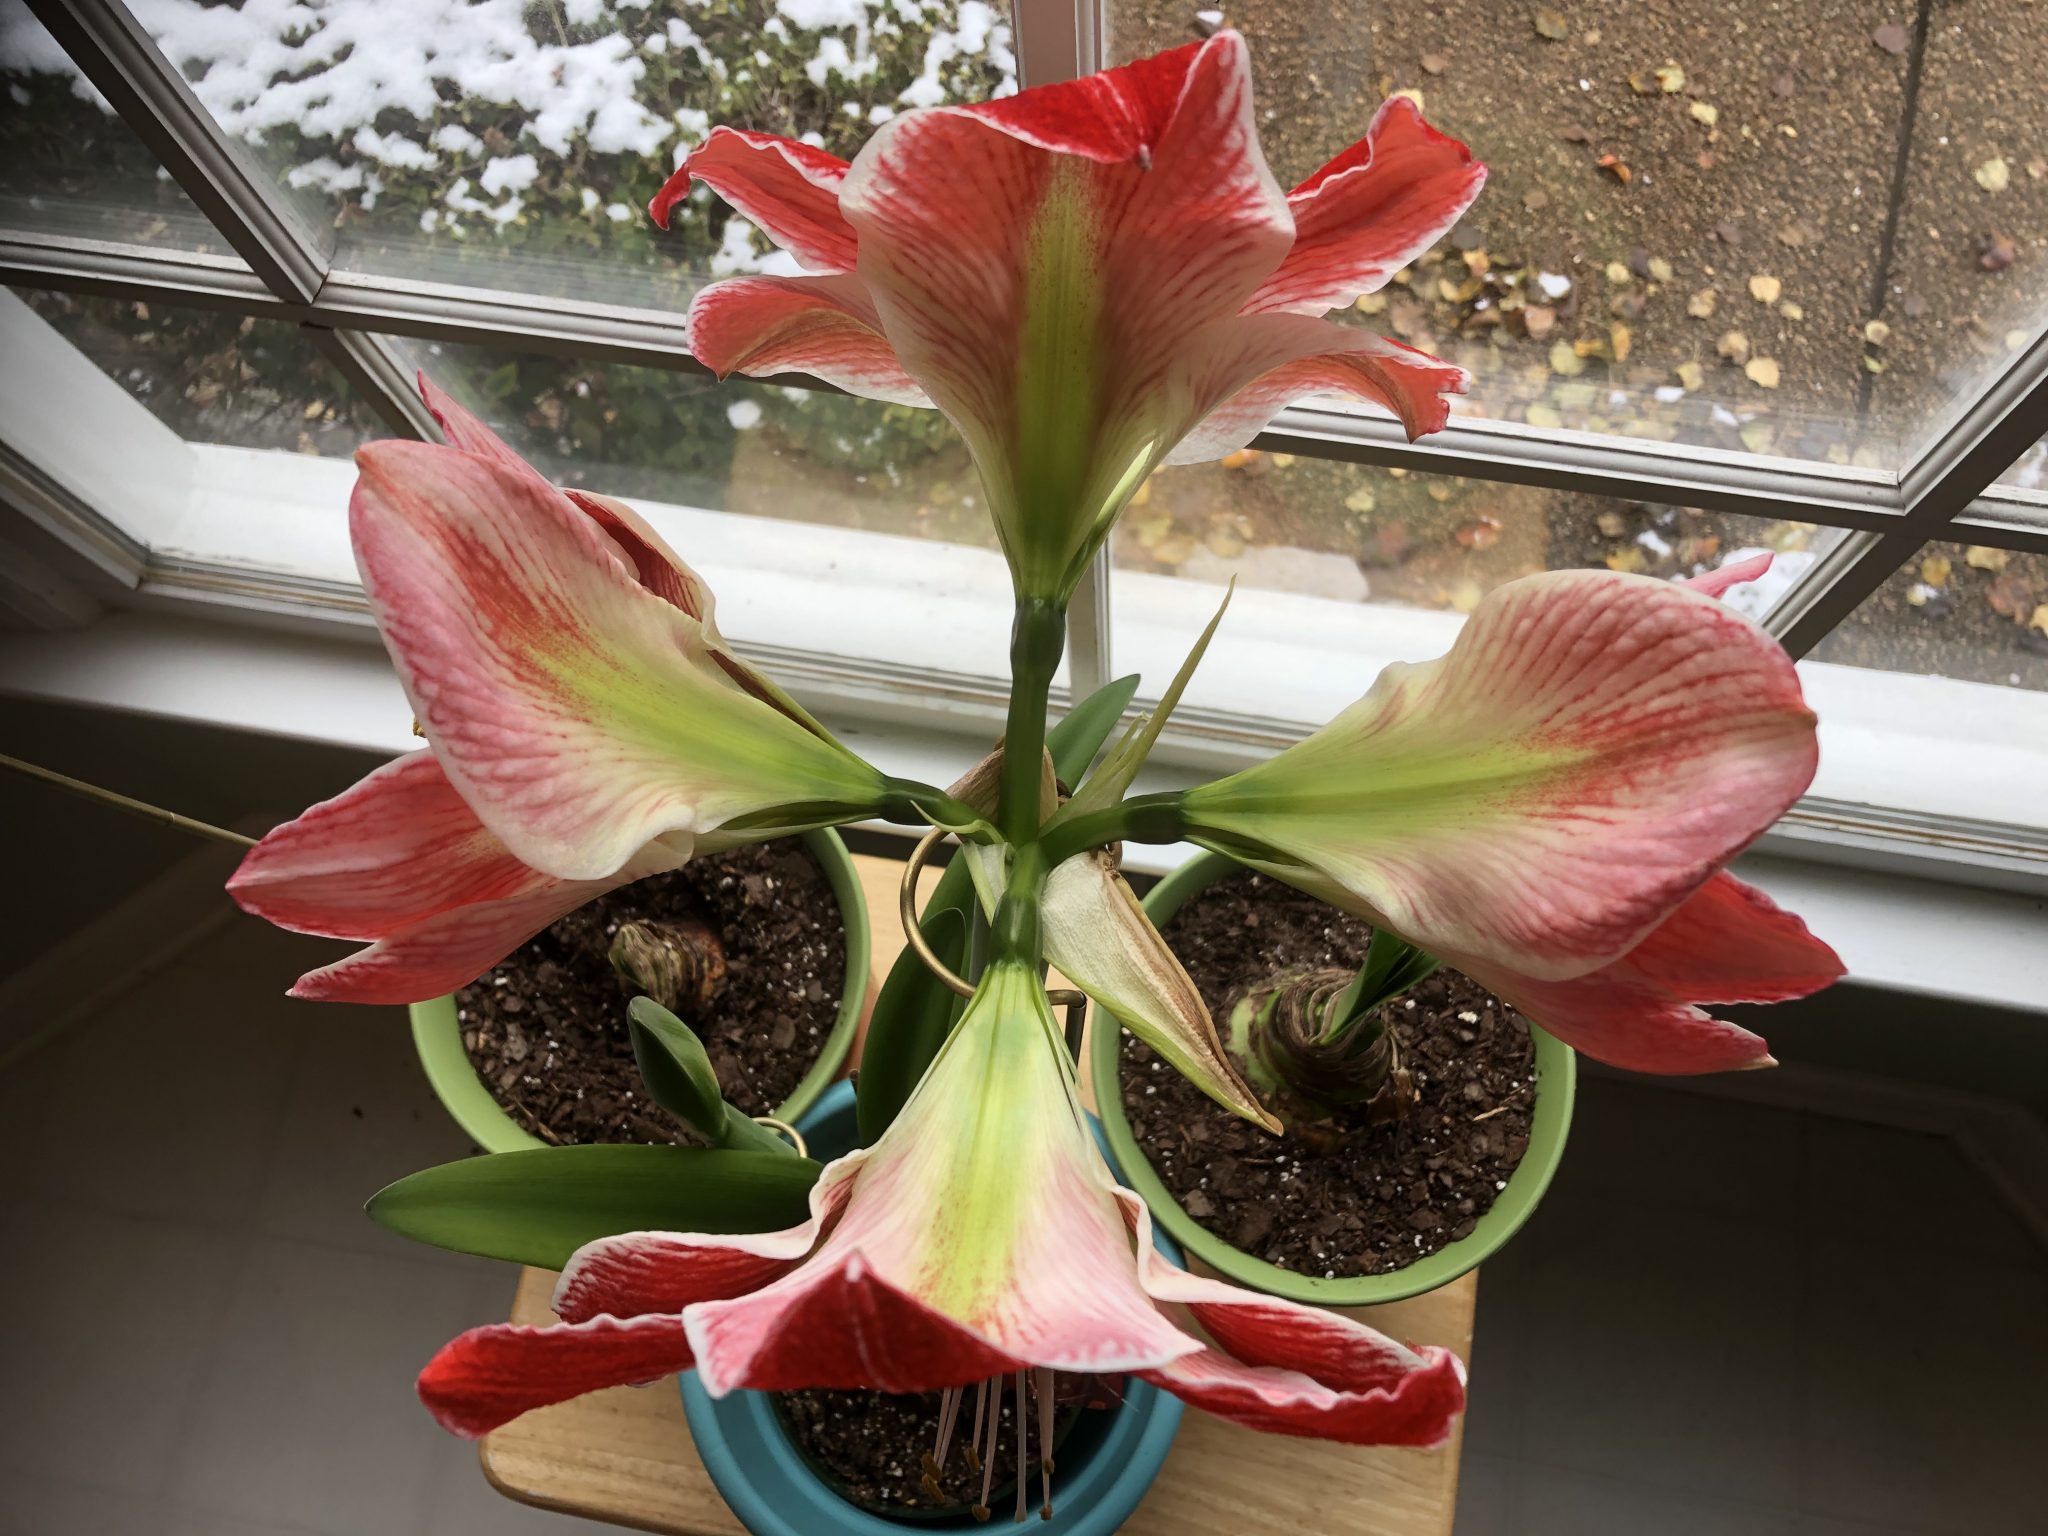
Amaryllis bulbs should be planted in pots which are approximately one to two inches wider than the diameter of the bulb. Containers may be plastic or clay, but should have drainage holes in the bottom of the pot. Add a small amount of potting soil to the bottom of the pot. Center the bulb in the middle of the pot. Then add additional potting soil, firming it around the roots and bulb. Allow two inches between the bulb and the edge of the pot. The upper half of the bulb should be above the surface of the soil.
Tamp the potted bulb gently to settle it into the pot and to firm the soil. Mature amaryllis are heavy and will topple if not properly seated in the soil. Water the area well, and place the pot in a cool (60° F) location. Water sparingly until growth appears.
For waxed amaryllis bulbs: Caring for waxed amaryllis bulbs is effortless, as they need neither water nor soil. Just position the bulb in bright, indirect light. Flower stalks typically emerge within four to six weeks, sometimes even sooner, utilizing the stored carbohydrates in the ample bulb. Rotate the bulb every few days to ensure the stalk grows straight. Once the amaryllis has bloomed and the bulb has reduced in size, remove the wax by peeling it off by hand or using a razor knife. Take special care to not damage the bulb when removing the wax. Once the wax is off, plant the bulbs as explained above.
How to Care for Amaryllis
When growth begins, water more frequently, then move the plant to a warm, sunny window and apply a water-soluble fertilizer every two to four weeks. Flowering normally occurs about six to nine weeks after potting. When the flower bud appears, turn the pot daily so that the flower-bearing stalk grows straight. The individual flowers can reach up to eight inches in diameter. When blooms fade, cut off the tubular flower stem near the top of the bulb, leaving the foliage to continue growing. Water as usual and apply a water-soluble fertilizer every four weeks. Once the danger of frost is past you may move your amaryllis bulb outdoors to your garden where it can enjoy the summer sun. Be sure to continue your fertilizer program every four weeks as this is necessary for the next round of indoor forcing. In early autumn, bring your amaryllis bulb inside and allow it to completely dry out. Cut off the dry leaves and let it "rest" for six weeks. Now repot your amaryllis bulb in new soil and start the process all over again.