Most gardeners never consider tending a garden away from home. But there are many practical reasons to sign up for a plot in your community garden. I joined my local garden because my wooded lot doesn’t get quite enough sun for the longest-maturing vegetables and the most sun-loving wildflowers. Other reasons to join a community garden:
- You live in an apartment or condo.
- Your homeowner’s association expects a traditional-looking lawn.
- To make your gardening hobby a more social experience.
- To grow food for your local foodbank.
- Shared tools–some gardens supply all the tools you need, so you basically “rent” access to a full toolshed.
- You want to learn from other gardeners, see new plants up close, or you just want to observe how others manage their plots.
If you’re curious about community gardening, try to find out if your community has one available. Usually a quick search online will suffice, but ask around too, as some won’t have a web presence. Sometimes looking for a community garden will reveal one that’s been hiding in plain sight for years.
If you do have a nearby community garden, go check it out. Most community gardens are happy to have visitors; mine even has a guestbook. Visit throughout the growing season and see how things look–this will give you more time to verify that you’re really interested, and you’ll probably meet some gardeners that can share details on how and when to apply and why they enjoy the community gardening experience. You can also develop preferences for plot layout that will be useful later. Try to get the garden coordinator’s contact information, so you can express interest and be notified of important updates.
Planning Your Plot
Once you’ve committed to the idea of tending a plot for a full season, paid your application fee and received your plot assignment, it’s time to make a plan for your new garden. The first step is making sure you have the right specifications/dimensions for your garden. Even if the plots seem uniform, it’s a good idea to measure your plot on-site and verify the specs before you put pen to paper and buy materials.
I studied other nearby plots for my first season’s layout, taking into account what I wanted to grow, how I wanted to be able to access the beds, and what just “made sense” to me. My neighbor’s garden is fully-optimized to maximize yield, and she’s had some plantings in the ground since the fall. But I’m fully aware my first season will be trial and error, so I’m mostly just planting one or two of many different varieties to get a feel for what works in the new plot.
I ended up selecting a “Block O” design. The outside of the block is all beds that can be easily accessed from the walking paths, and the middle of the O is covered by a trellis made of wire fencing panels.
Building Up a Plot
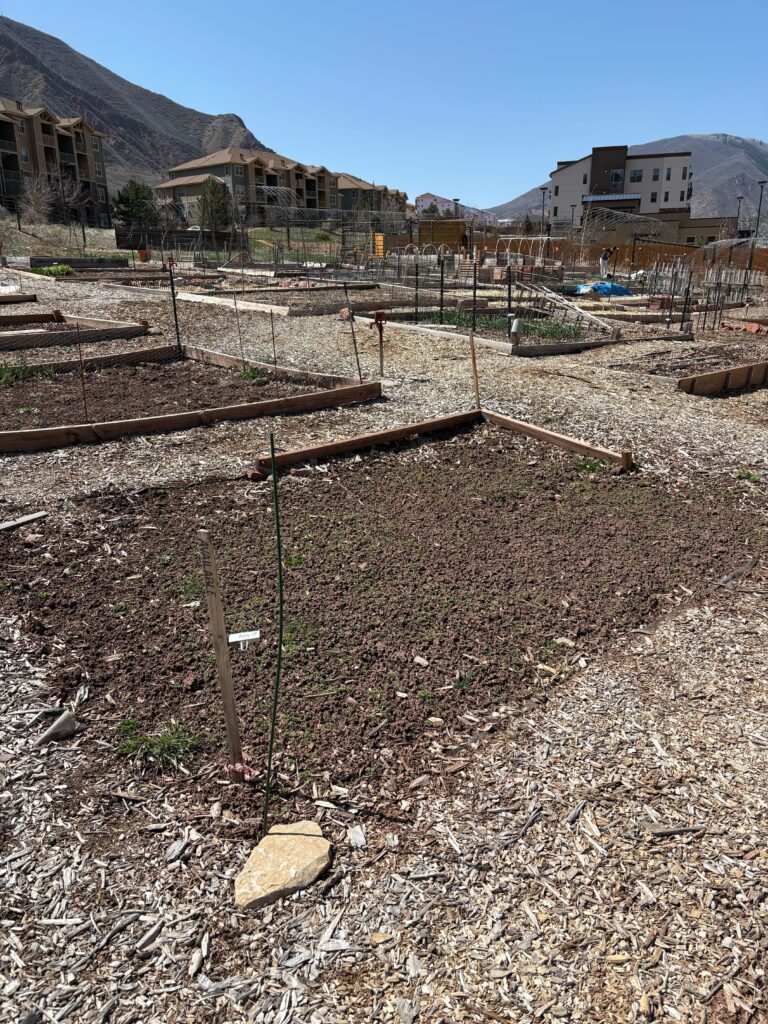
Here’s the plot I was assigned–a perfectly good one near a water spigot, easy to see from the road, and not far from the entrance. But it did need a little TLC to get back into starting shape. When I showed up on day one, I received a good reminder that weeding is the always-present task of any gardener.
My plot is 10′ x 14′, and I knew I wanted the sides to be at least 6″ tall, so I purchased two 2-in (thick) x 6-in (tall) x 10-ft (long) boards for the short sides–which was perfect because I wouldn’t have to cut them. I couldn’t get two 7′ boards for the 14′ side, or even a 6′ and an 8′, so I had to get two 8′ boards per side and handsaw one one of them down to 6′ to get my 14′ dimension. Usually a building supplies store will offer to cut your wood to size–take them up on this! I didn’t have that option because it was a busy Sunday afternoon, and they didn’t have anyone to help with the saw station.
All in, you can get this lumber for about $50 if you use kiln-dried fir. Expect that to be more like $130 if you use nicer redwood–but either way, don’t use treated wood. Your garden rules likely will prohibit using pressure treated wood due to copper-based chemicals and added fungicides.
I used these galvanized steel corner braces to keep my sides square and level. The 2″ boards sit nicely in the braces and they hold the boards together for you while you apply your fasteners. The post connector in the back stakes into the ground nicely and stabilizes the frame while you connect everything:
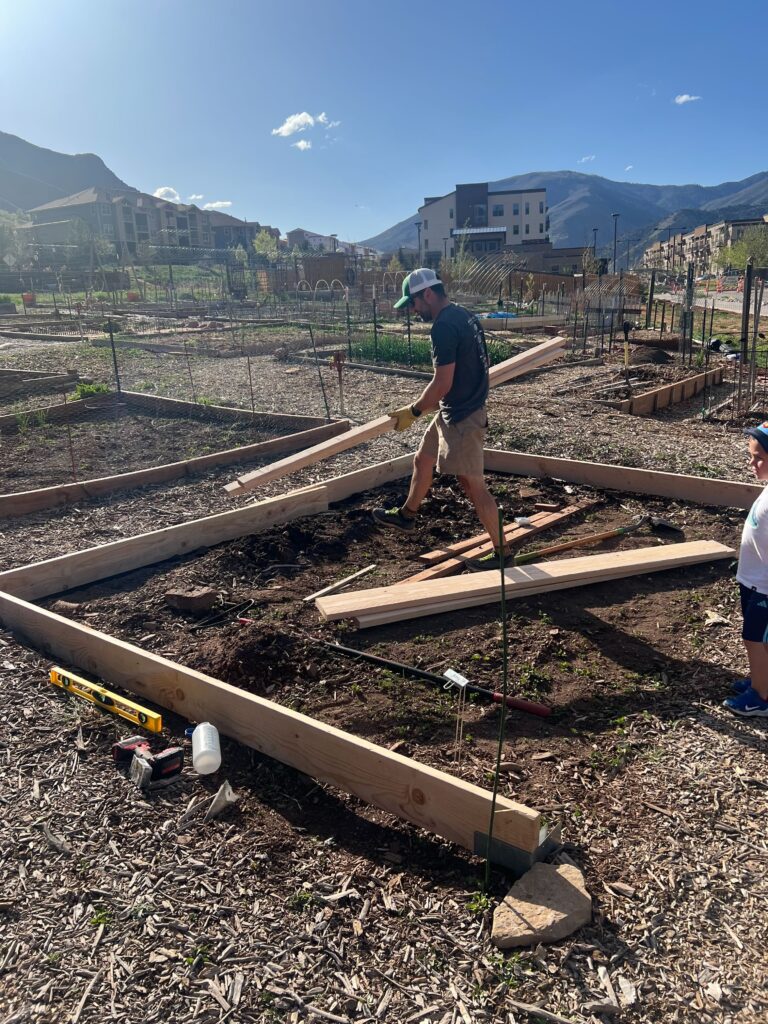
I also bought three or four 1-in x 4-in x 8-ft strips, cut them onto 18” pieces and then staked those into the ground inside my 2″ x 6″ frame for support. And where the 8′ and 6′ boards needed to be joined to make a 14’ side, I just pushed them together and screwed them into the staked 1′ x 4′. I didn’t take the time to make my sides perfectly straight, but it generally worked fine:
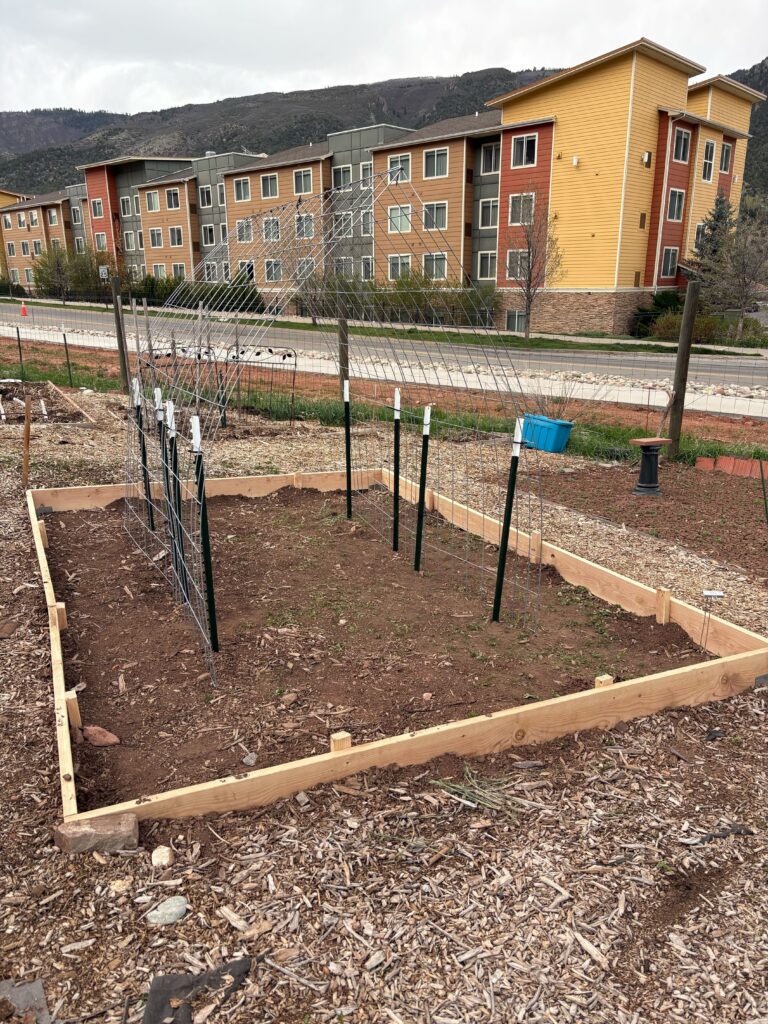
To make the trellis, I purchased four 8′ cattle panels and anchored them with eight 5′ t-posts. Most of my neighbors had a nice pretty arch–which they likely got from using a 16’ panel and bending it into a “C” shape. But I didn’t have any way to get a 16′ panel to the garden; my neighbors likely planned ahead and had a bulk order delivered by a farm store. So, my trellis ended-up house-shaped instead of curved because I zip-tied the two 8′ sections together at the top.
Filling the Garden
From there, I filled in the plot with organic garden soil and placed four pavers, so that I could walk across my plot without crushing any of my seedlings. And then I added the most important part–my seed starts:
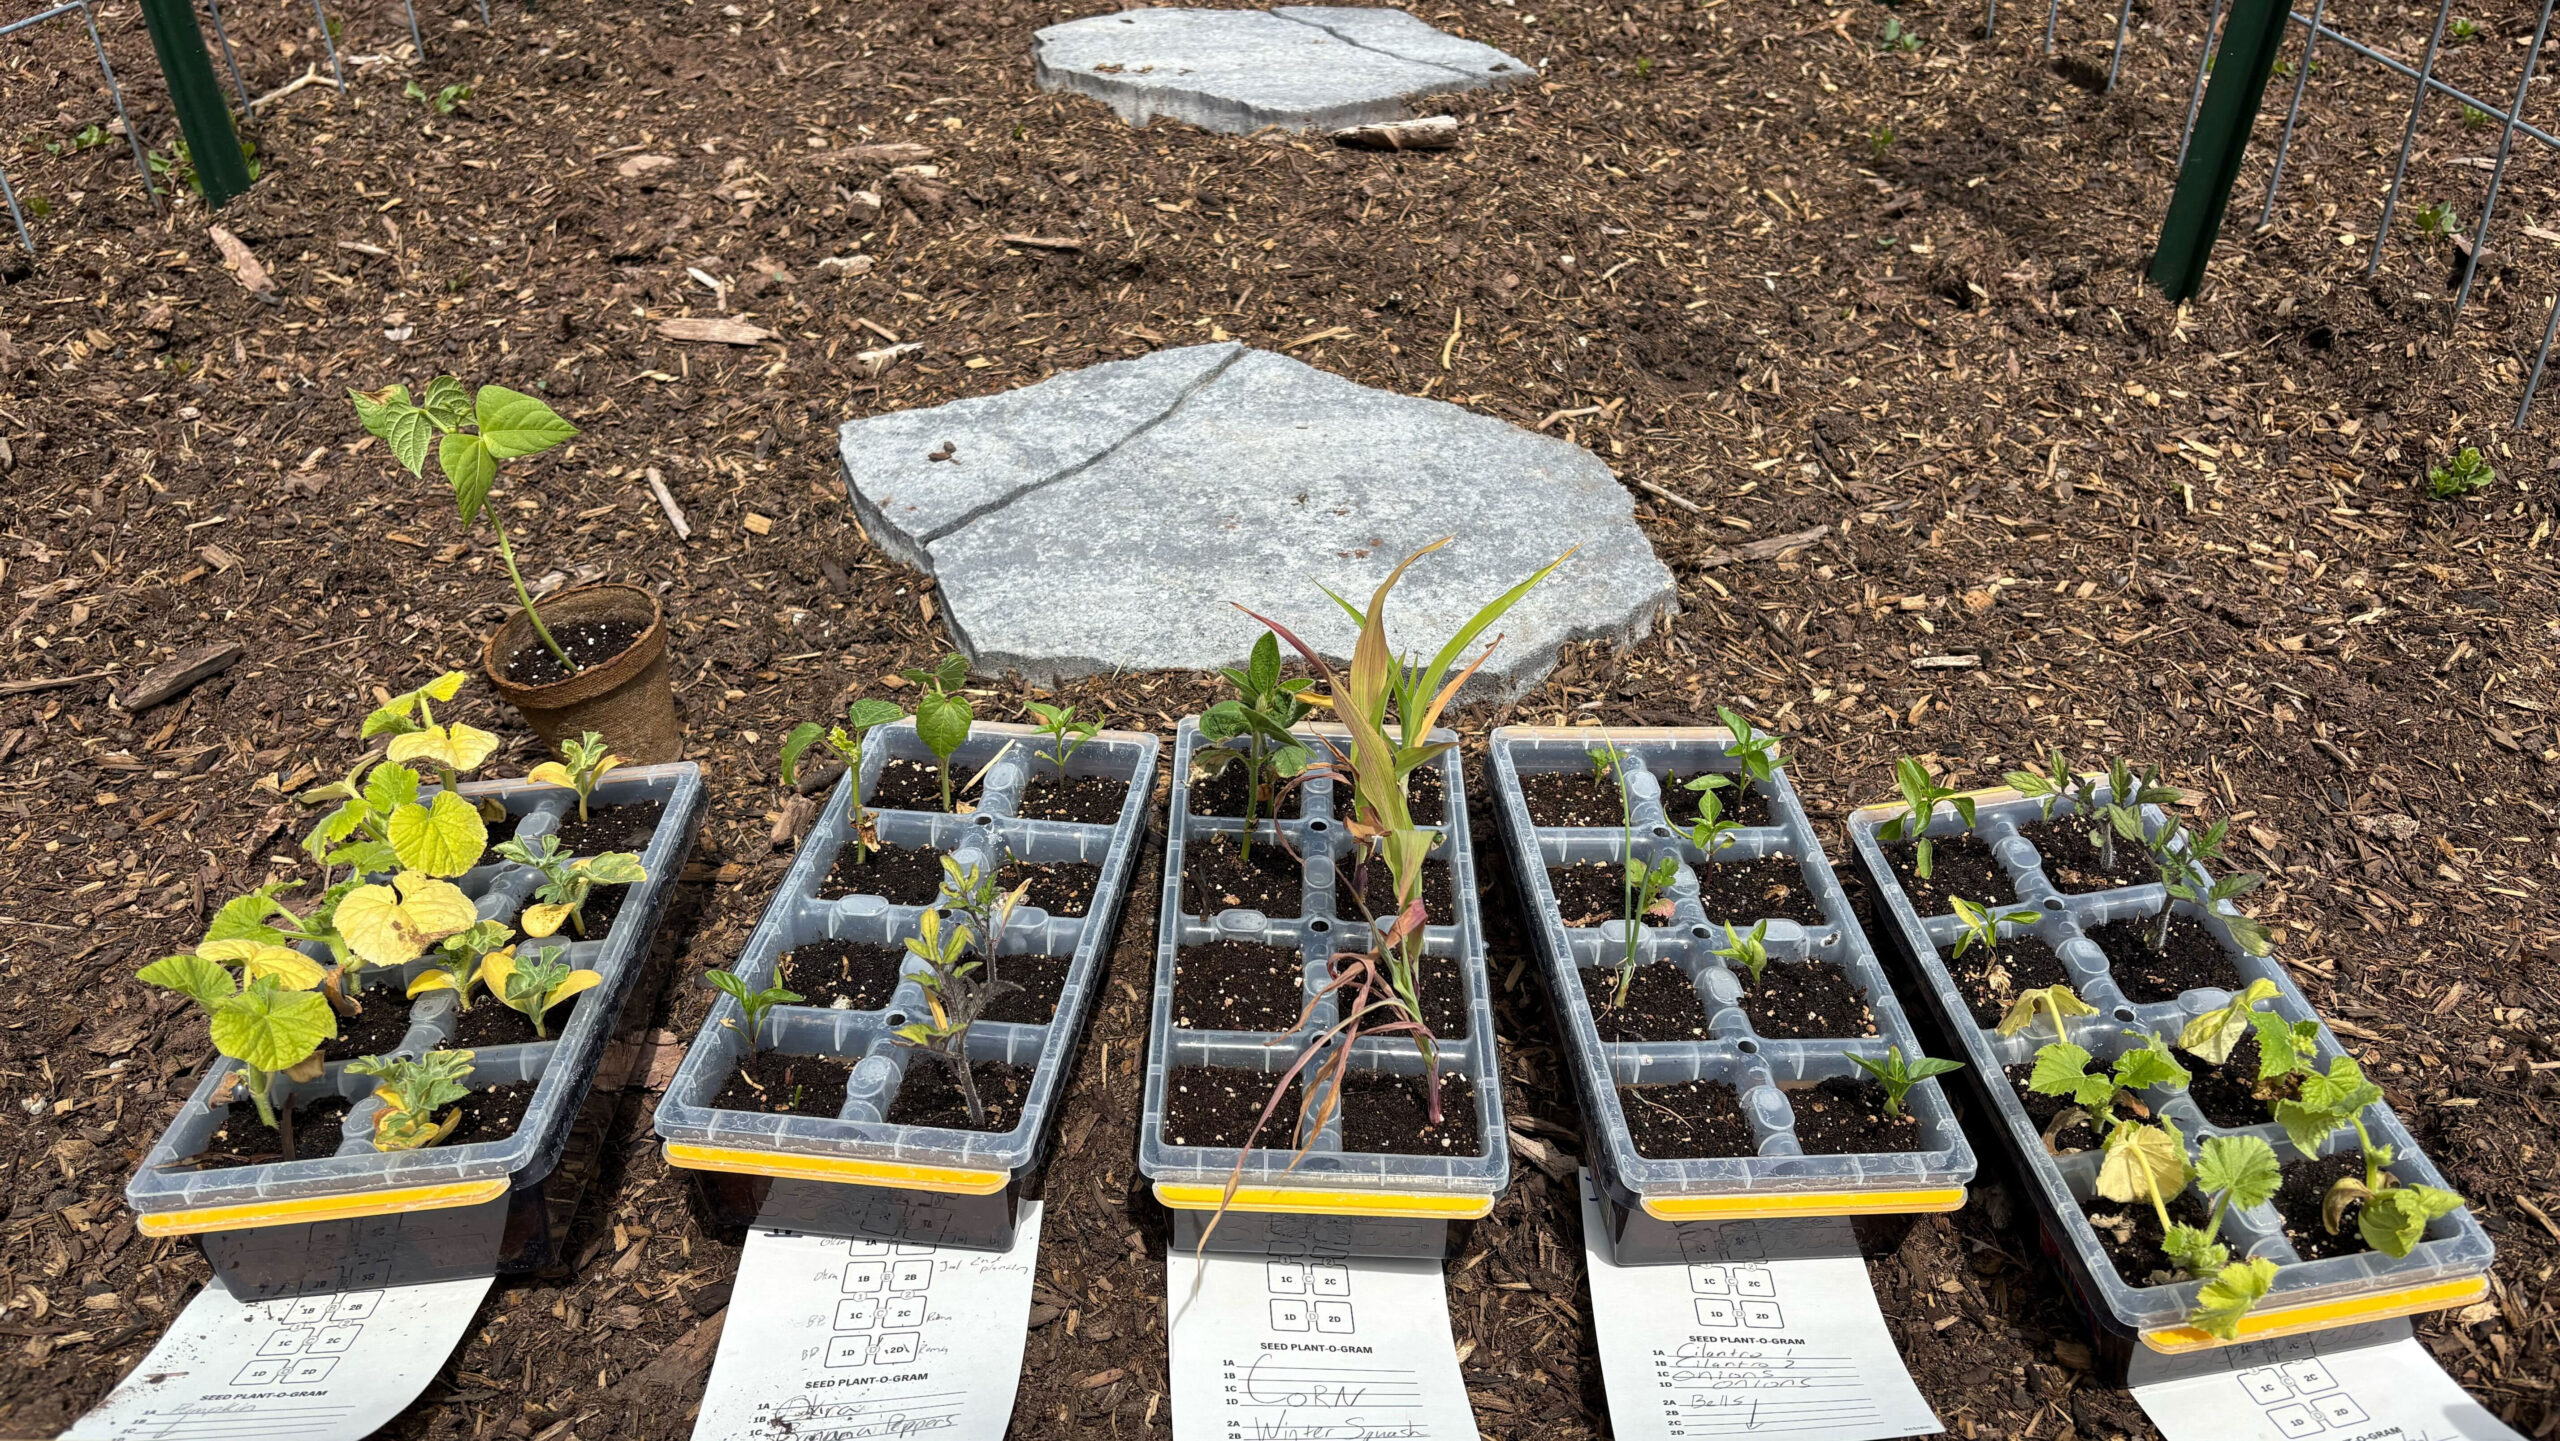
After adding the plants I suddenly became a bonafide, fully-vested community gardner. And the upkeep–watering, mulching, weeding, etc. began!
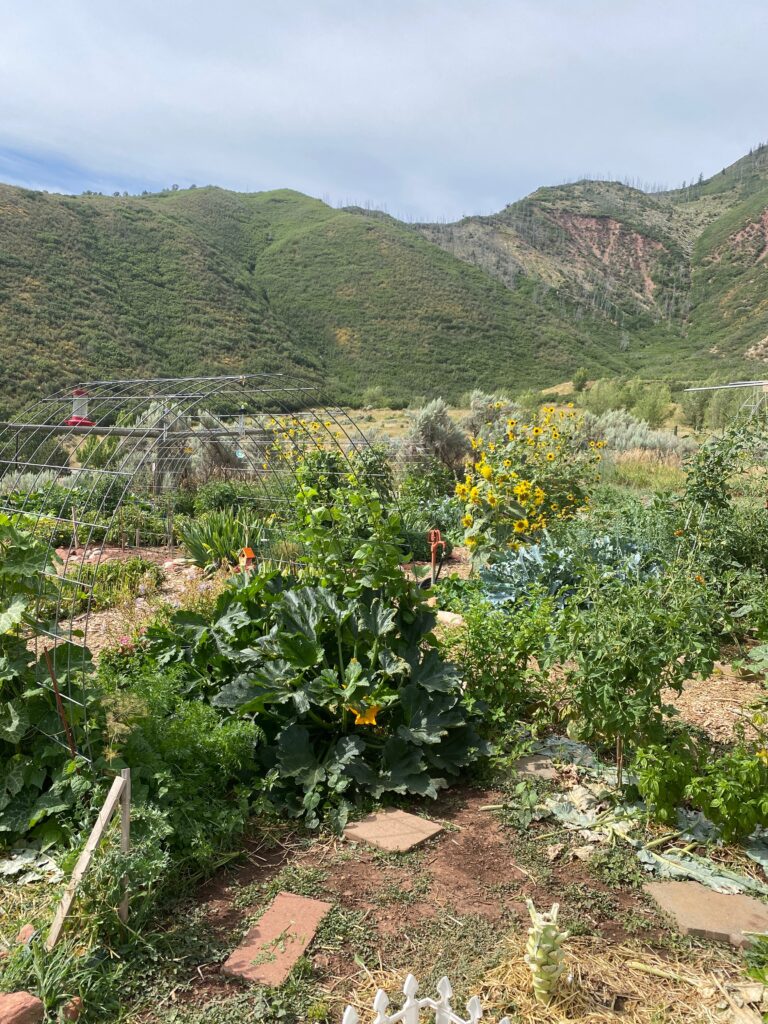
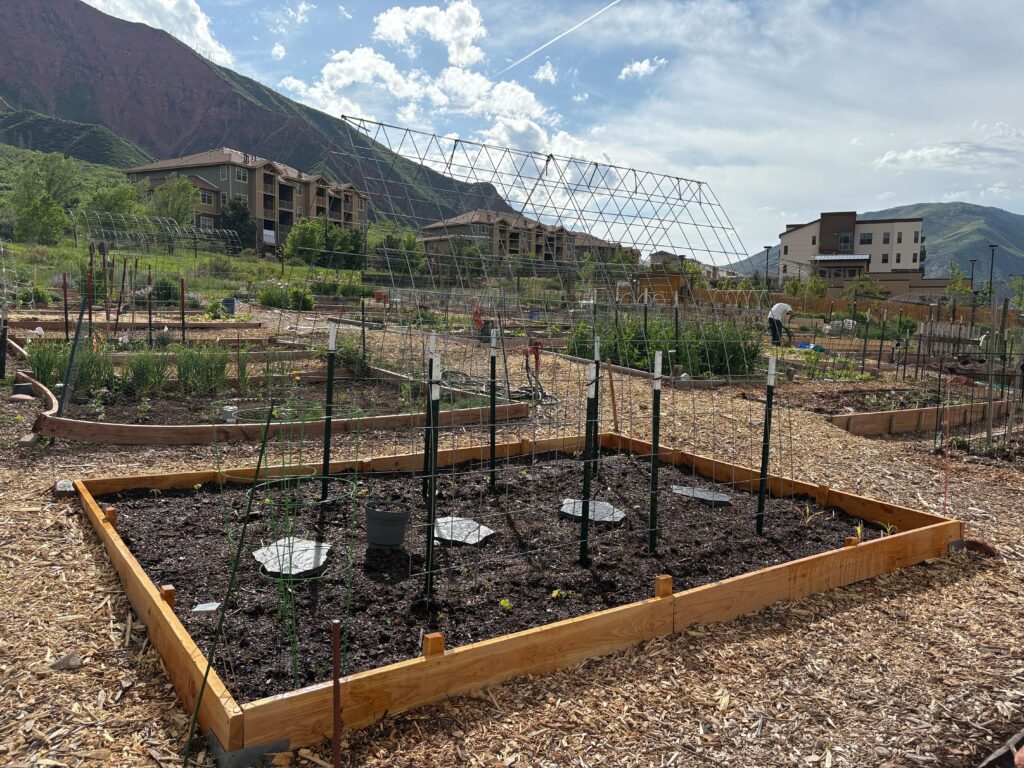
This is where the plot ended up. I’m mostly trying to grow veggies that I couldn’t fully mature at my house–pumpkins, watermelons, winter squash, some corn and my son’s bean plant from his pre-school. We added some zinnias and marigolds for color, and we’ll likely keep planting more as we go into summer. So far it’s been a great family project. The plot is small enough that the kiddos can help my wife and I weed and water, and we’ve met many other gardeners.
One unexpected learning? We have a neighbor that listens to a spa music playlist while weeding. I haven’t tried it yet, but we’ll see if that makes weeding a zen-like experience. I’m skeptical, but another day, another surprise at our new community garden!
Recent Posts
-
Bright Ideas for a Shade Garden
Learn some tips to turn the dull shaded area of your yard into a colorful relaxing oasis to enjoy.
-

A Tulip for Every Taste
Learn about the many different types of tulips–each with unique bloom times and features.
-

Fall Bulbs for Early Spring Blooms
Plant in fall for a stunning early spring show! Meet the underrated heroes of fall-planted flower bulbs: Crocus, Hyacinth, and Muscari.
-

A Simple Guide to Succession Planting
Succession planting is a simple technique of planting crops in a staggered schedule. As one plant finishes, another is ready to take its place and the harvest keeps coming!